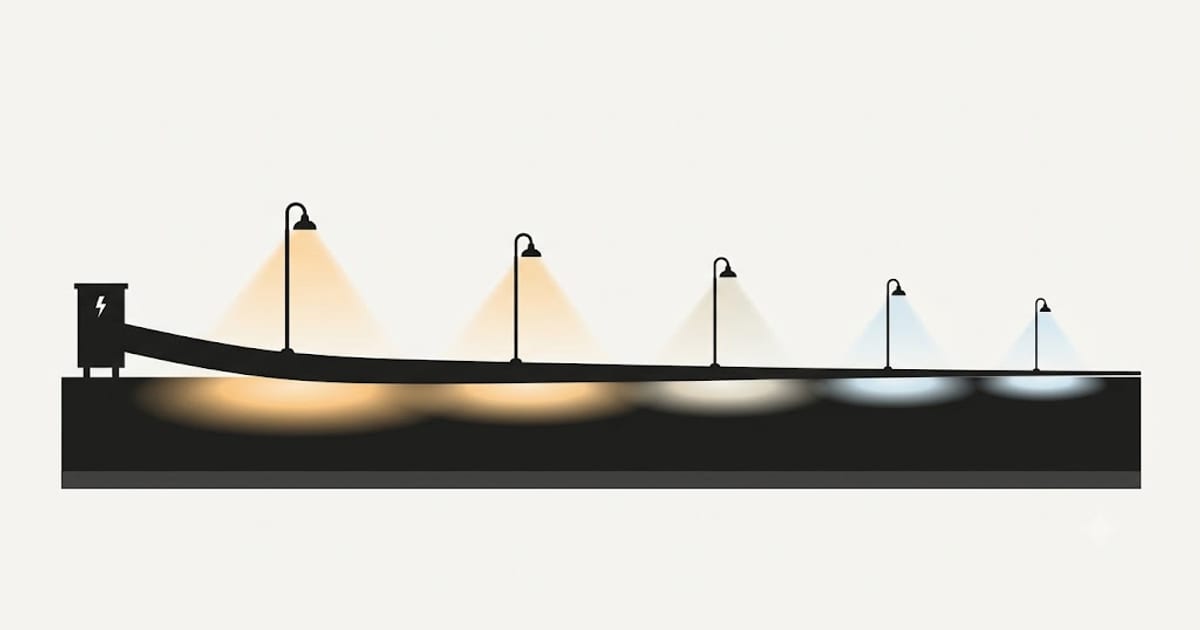
Low-voltage landscape lighting fails in exactly one way: the fixtures at the far end are dimmer than the ones near the transformer. It is always voltage drop, and it is always discovered after the trench is filled in.
Wire gauge is the variable that fixes it, and it is the cheapest thing in the system to get right at the time.
The window is narrow, and that is the whole problem
A 12 V LED fixture wants to see somewhere between 10.5 and 15 volts. Below that it visibly dims and some drivers begin to flicker; above it, life shortens.
Compare that with a house circuit, where the convention is to keep drop under 3% and there is a hundred-odd volts of headroom either side. At 12 volts there is no headroom. A drop of 1.5 V is 12.5% of the supply, and it is the difference between a fixture that works and one that does not.
Ten percent is the practical ceiling. That is 1.2 V on a 12 V run.
The mistake that doubles the copper you buy
Almost every rule of thumb assumes the whole load travels the whole distance. In a landscape run with fixtures spread along it, that is not what happens.
Current only flows as far as the fixtures that draw it. In the section of cable between the transformer and the first fixture, the full load is present. Between the first and second, the load is less by one fixture. By the last section, only one fixture's current is flowing.
For fixtures spread evenly along a run, the effective distance is roughly the distance to the midpoint of the load, not to the far end. Calculating on the far end roughly doubles the apparent drop, and sells you the next gauge up when you did not need it.
The practical version: calculate to the centre of the fixture group, not to the last fixture. A ten-fixture run 100 ft long, evenly spaced, behaves like the whole load sitting at about 55 ft.
Choosing the gauge
The variables are total load in watts, one-way distance, and how much drop you are willing to accept. Rough guidance for a 12 V system at 10% drop:
| Load | 16 AWG | 14 AWG | 12 AWG | 10 AWG |
|---|---|---|---|---|
| 30 W | 60 ft | 100 ft | 150 ft | 240 ft |
| 60 W | 30 ft | 50 ft | 75 ft | 120 ft |
| 100 W | 18 ft | 30 ft | 45 ft | 72 ft |
| 150 W | 12 ft | 20 ft | 30 ft | 48 ft |
| 200 W | — | 15 ft | 22 ft | 36 ft |
Read the distance as to the middle of the load, per the point above.
Two things fall out of that table immediately. 16 AWG is only useful for very short runs, which is why it is sold mainly with fixture kits rather than by the reel. And LED loads are small, which is the reason a garden that would have needed 10 AWG with halogen often runs comfortably on 12.
Buy heavier than the calculation says
This is the one recommendation in the whole subject that is worth stating flatly: go one gauge heavier than the arithmetic requires.
Three reasons.
Landscape lighting always grows. One more fixture at the new tree, two more along the path where the planting filled in, a spot on the shed. Every addition raises the load on cable already in the ground.
The trench is open exactly once. The cost difference between 14 and 12 gauge over a 100 ft run is small. The cost of digging the run up again is not.
Heavier cable runs cooler and drops less, which gives the whole system margin at both ends.
The corollary is that it is worth running a spare cable to the far end of a large garden while the trench is open, even with nothing connected to it. It costs the price of cable and it turns a future extension into an afternoon.
Two layout changes that beat any gauge
Before buying heavier copper, consider whether the topology can do the work instead. Both of these cost nothing.
Feed from the middle. Bring the cable from the transformer to the centre of the fixture run, then split left and right. That halves the effective distance in each direction, and because drop rises with distance, it cuts the drop by roughly three quarters.
Split into separate runs. Two runs of five fixtures each, both leaving the transformer, each carry half the current of one run of ten. Most transformers have multiple output terminals for exactly this.
Either of these will usually do more than stepping up a gauge, and neither costs anything but a different trench route.
Transformer taps are compensation, not a substitute
Transformers with 13, 14 and 15 V terminals exist to compensate for a long run. Connect a run to the 14 V tap and every fixture on it sees two volts more than it would on the 12 V tap.
They work, and they have a failure mode. Raising the voltage at the source raises it at every fixture on that run, including the near ones that did not need it. Fixtures at the start then run above their intended voltage, which shortens their life — and you have solved a dim-at-the-end problem by creating a hot-at-the-start one.
Use taps to trim a run that is close, not to rescue undersized cable.
Do not forget the transformer itself
Cable gauge is one of three numbers that have to work together. The second is the transformer rating: never run one above 80% of its nameplate, because a transformer at full rating runs hot, and heat is what kills them. A 300 W transformer is a 240 W transformer in practice.
The third is fixture count and spacing, which sets the load in the first place.
Work all three out together on the landscape lighting page, which takes run length, fixture count and wattage and returns the drop, the gauge and the transformer size in one pass.