
If a dimmed circuit works at high brightness and flickers at low brightness, the usual cause is not a fault. There is not enough load connected for the dimmer to regulate.
Why a minimum exists
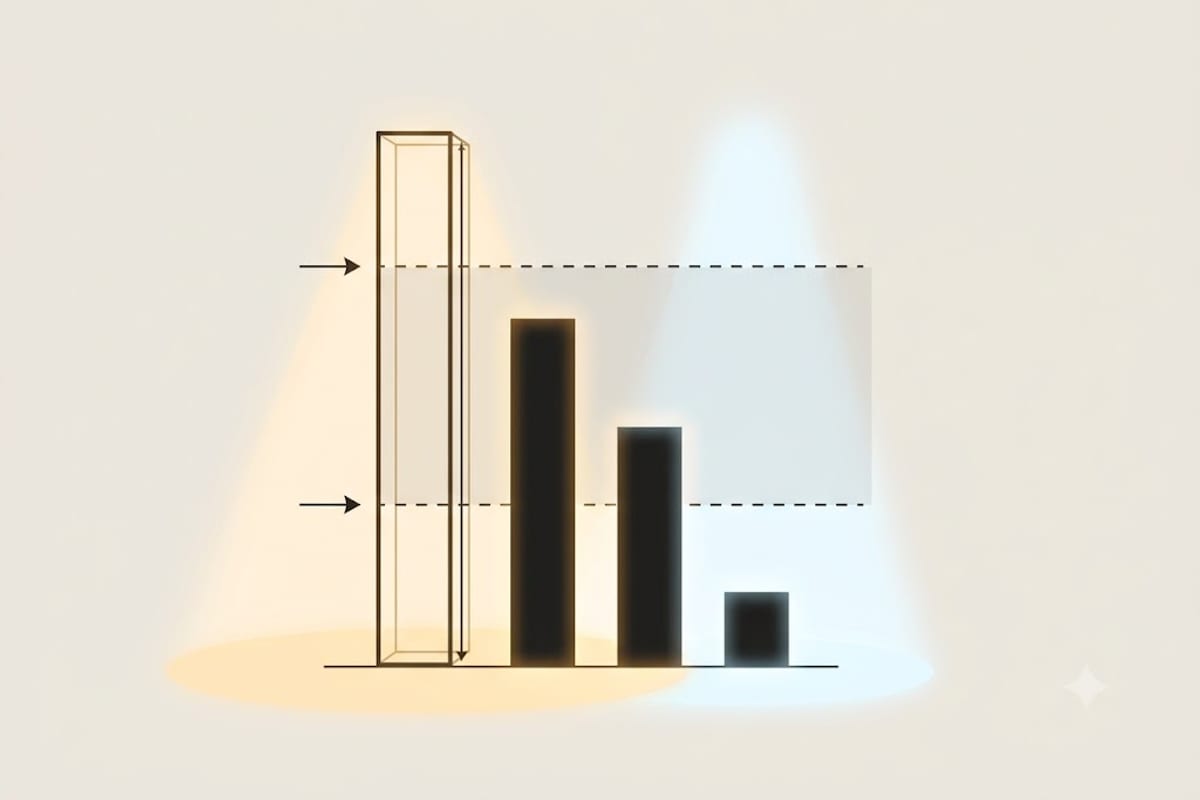
A dimmer needs a certain amount of current flowing to sense where it is in the mains cycle and to keep its own electronics powered. Below that, its timing becomes unreliable and the light output wanders — which you see as flicker, usually worst at the bottom of the dial where the conduction period is shortest.
With filament bulbs this never came up. A single 60 W bulb comfortably exceeded any minimum.
An LED replacement for that bulb draws around 8 W. A circuit that used to present 180 W now presents 24 W, and older dimmers commonly specify a minimum of 40 W or more.
Add up what you have
Count the actual wattage of the LEDs, not the incandescent-equivalent figure printed in large type on the front of the box.
| Bulbs | Actual wattage | Total |
|---|---|---|
| 3 × 6 W downlights | 6 W | 18 W |
| 6 × 5 W downlights | 5 W | 30 W |
| 2 × 9 W pendants | 9 W | 18 W |
| 9 × 5 W downlights | 5 W | 45 W |
Compare that total against the dimmer's stated minimum for LED loads. If the datasheet gives one figure for incandescent and another for LED, the LED figure applies.
De-rating catches people out
A dimmer marked 400 W is often rated far lower with LEDs — sometimes 100 W, sometimes 60 W. The reason is that LED drivers draw current in short sharp pulses rather than smoothly, and the peak current matters more than the average for the dimmer's switching device.
The consequence is that both ends move: the maximum drops, and the useful minimum is often higher than the printed one. A circuit close to either limit is where marginal behaviour lives.
Three ways to fix a shortfall
1. Fit a modern LED-rated dimmer. This is the right answer almost every time. Current trailing-edge LED dimmers commonly work down to a few watts, and many state no practical minimum at all. It is a like-for-like swap in the same backbox.
2. Add more bulbs to the circuit. If a room genuinely wants more light, extending the grid raises the load and improves the lighting at the same time. Working out how many the room should have is in recessed light spacing.
3. Fit a dummy load or bypass. A resistive dummy load module wired at one fitting brings the circuit above the minimum. It works, and it is a workaround rather than a fix — it burns the extra watts as heat, undoing part of the point of LEDs. Reasonable when the dimmer is inaccessible; otherwise fit the right dimmer.
The symptom pattern
| Symptom | Points to |
|---|---|
| Flicker only at low brightness | Below minimum load |
| Flicker across the whole range | Wrong dimmer type, or non-dimmable bulbs |
| Will not dim below about 30% | Bulb driver's own limit |
| Jumps to full at the bottom | Driver restarting from low load |
| Dimmer runs hot | Near the maximum, or de-rating exceeded |
| Faint glow when off | Leakage — needs a bypass at the fitting |
While you are at it
Two other checks belong with this one. The dimmer should be trailing edge for LED loads — see trailing edge vs leading edge — and every bulb on the circuit should be dimmable and the same model, because mixed drivers behave differently on the same waveform.
All four checks together are in LED dimmer compatibility.
Measure the load instead of guessing it
The number that matters is what the circuit actually draws, and three things get in the way of reading it off the box.
The large number on the front is not the wattage. "60 W equivalent" is a brightness claim. The real figure is printed small, usually next to the lumen output, and on the bulb's own collar. On a 60 W-equivalent LED it is typically 7–9 W.
The driver draws more than the chip. A bulb marked 9 W is 9 W at the mains input on a good one, but an integrated fitting quoting "9 W LED module" may draw 11 W once its driver is counted. Where a fitting quotes both, use the input figure.
Power factor is not the same as watts. Some dimmers state their minimum in VA rather than W. A cheap LED driver can have a power factor around 0.5, so 20 W of bulbs presents about 40 VA. That works in your favour here, and it is the one time poor power factor helps.
A plug-in energy meter on a lamp, or a clamp meter at the consumer unit, settles it in a minute. Below about 5 W most plug-in meters stop being trustworthy, so measure the whole circuit at once rather than one bulb.
Why the printed minimum is optimistic
Manufacturers establish the minimum with a clean supply, at nominal voltage, on a short cable run, at room temperature. Three things in a real house push the effective minimum upward.
Low mains voltage. The dimmer needs a certain current to keep its own electronics alive. Supply sitting near the bottom of tolerance reduces the current a given load draws, and a circuit that was marginal at 240 V can misbehave at 225 V. This is why the flicker sometimes appears only in the evening, when the local network is loaded.
Long cable runs. Cable capacitance and the leakage of a two-wire dimmer interact, and a 25 m run to a garden room behaves differently from a 3 m run in a hallway.
Temperature. A dimmer buried in an insulated wall or in a multi-gang box runs hot, and its switching device behaves differently hot than cold. The practical version of this rule: if a circuit works from cold and drifts after an hour, suspect heat before you suspect the bulbs.
Treat the printed minimum as a floor with no margin. Aiming for roughly double the stated minimum is the difference between a circuit that works and one that works most of the time.
The no-neutral dimmer makes the problem worse
A dimmer with no neutral connection has to power itself by drawing a trickle of current through the bulbs, because that is the only path it has. On a filament load nobody noticed. On an LED load that trickle is enough to make the bulb glow faintly when it is meant to be off, or to flash it once a minute as the dimmer's internal capacitor charges and discharges.
That same trickle also means the dimmer is stealing part of the small current it needs to sense — so no-neutral models usually specify a higher minimum load than the equivalent model with a neutral.
Three options, in order of preference: run a neutral to the switch position if the wall is open anyway; fit a bypass capacitor at one fitting, which gives the dimmer a path that does not go through the LED driver; or accept a higher minimum and load the circuit accordingly.
A worked example
A three-lamp bathroom circuit, 5 W bulbs, on a dimmer with a printed minimum of 20 W for LED loads.
| Step | Figure |
|---|---|
| Actual load | 3 × 5 W = 15 W |
| Printed minimum | 20 W |
| Shortfall | 5 W |
| Comfortable target (2× minimum) | 40 W |
Adding two more 5 W bulbs reaches 25 W — over the printed minimum but still under a comfortable margin, and a bathroom rarely wants five downlights. The correct fix here is the dimmer, not the lighting: a modern trailing-edge unit rated from 1 W turns a 15 W circuit into an easy one and leaves the room lit the way the room should be lit.
That is the general shape of it. Changing the dimmer is almost always cheaper and better than changing the room to suit the dimmer.